
Pumpkin Carving Tips and Halloween Fun in Medicine Hat
If you picked up a pumpkin earlier this month, now is a great time to start planning your design. Carve too early, and you might end up with a droopy pumpkin before Halloween even arrives.
With Halloween just around the corner, here are a few simple pumpkin carving tips to make the process easier, plus some Halloween events to add to your Medicine Hat calendar.
When Is the Best Time to Carve Your Pumpkin?
If you want your jack-o’-lantern to look its best on Halloween night, aim to carve it about 5 to 10 days before October 31, depending on the condition of your pumpkin and where you plan to keep it.
Warm sunny Medicine Hat weather, direct sunlight and moisture can cause it to soften or develop mould sooner than expected. If you can, keep your pumpkin somewhere cool and out of direct sunlight until you're ready to carve it.
Our Pumpkin Carving Tips That Make
the Job Easier
1. Cover your table before you start
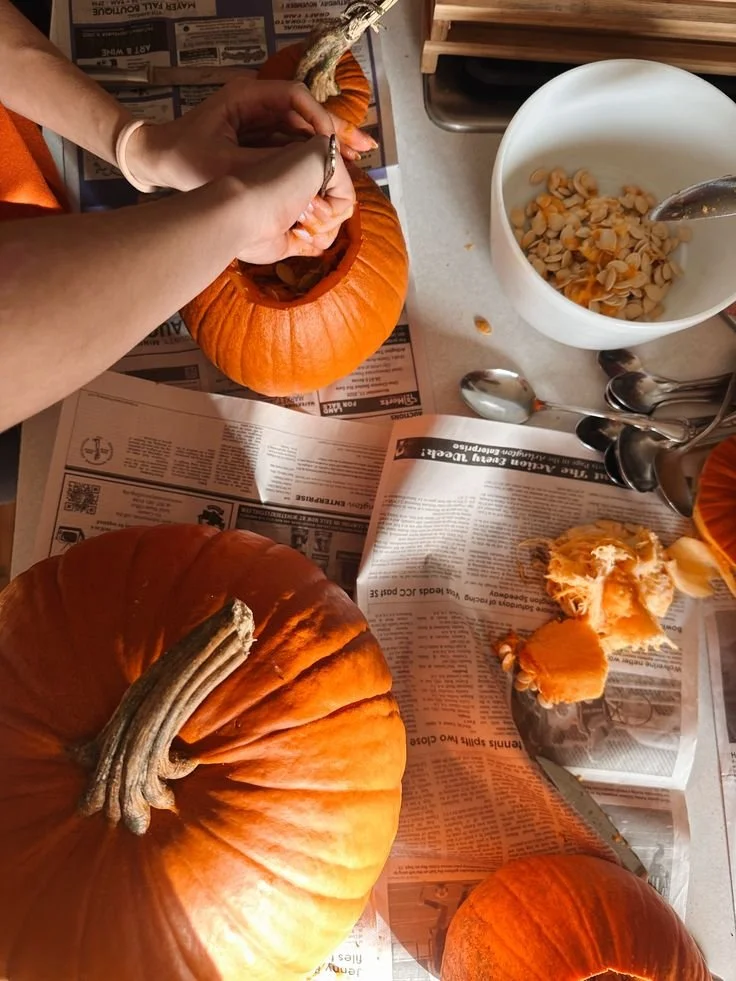
Cover the table, have a guts bowl ready, and place a baking sheet under the pumpkin for easier clean up. A few paper towels can be handy as well, especially as hands and handles become equally slimy.
2. Use pumpkin carving kit tools
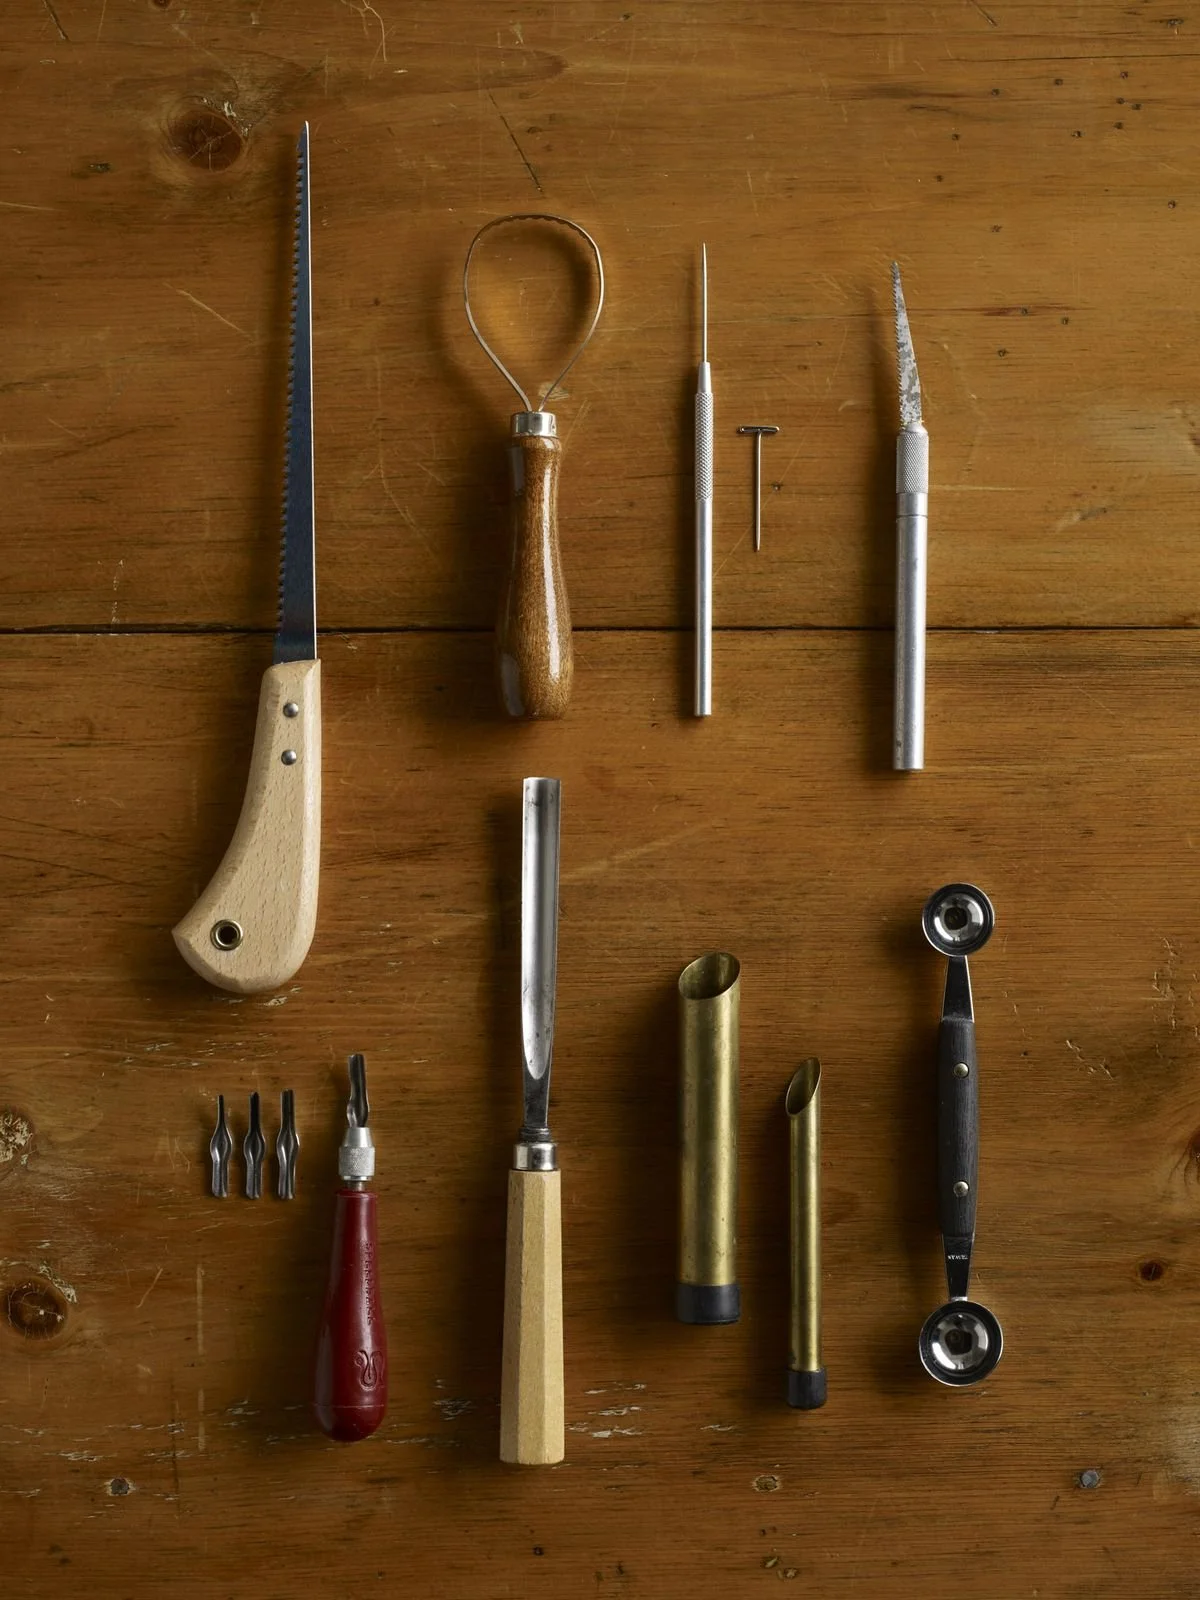
Those little pumpkin carving kits from the grocery store can be surprisingly handy. And yes, slow and steady wins the race here. It may be tempting to use the kitchen knife but you know better! We also recommend thinking outside the box. Metal cookie cutters can punch designs, clay tools can be super handy, and even some garage tools can create fun effects.
3. Trace your design before cutting
Drawing on the pumpkin is always a good way to go, but so is printing out a design and taping it to the pumpkin. If you’re relatively new to carving a classic triangle-eyed jack-o-lantern is a great place to start.
4. Scoop out more of the inside than you think you need
To cut your opening we recommend a circle with a notch, that way you can match the notch up when putting the top back on.
Remove the seeds and stringy pulp. Then scrape the inside walls until they're reasonably smooth, especially where you'll be carving your design. Remember - thinner walls… easier to carve!
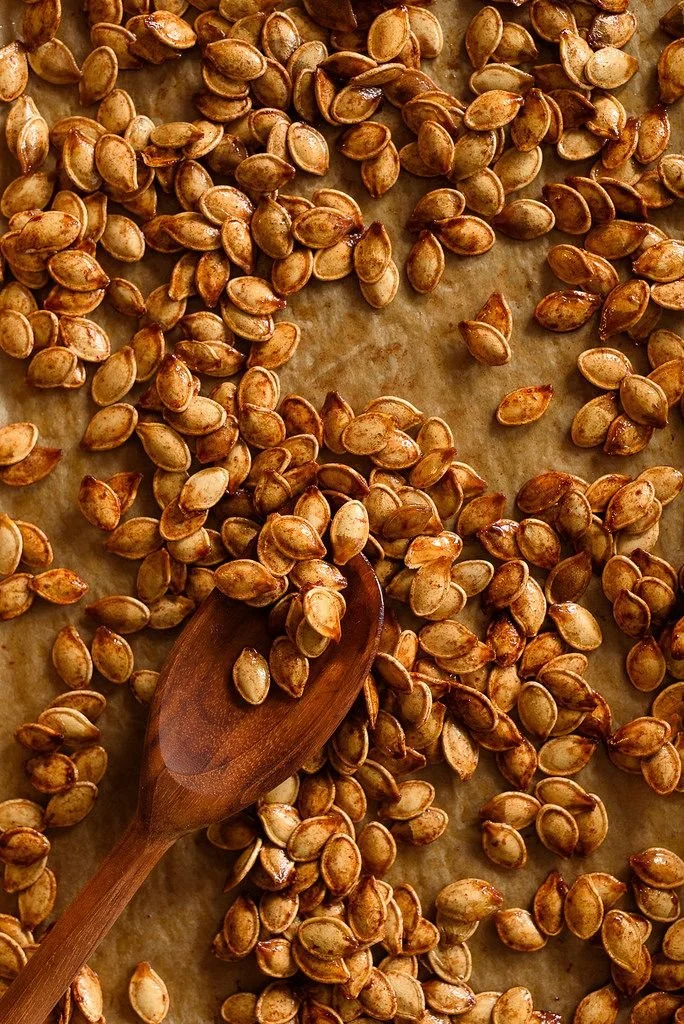
And save those seeds!
5. Roast the pumpkin seeds for a little snack
If you didn’t grow up eating pumpkin seeds right after you were done carving… it’s not to late to start.
Here's a quick recipe:
Separate the seeds from the pulp and rinse them well.
Pat them dry with a clean towel.
Toss them with a little oil and your favourite dry seasonings. We like paprika and honey, or chilli and cumin. Dill is another great addition - but add it after removing.
Spread them in a single layer on a baking sheet.
Roast at around 300°F (150°C), stirring occasionally, until they're golden and crunchy. This often takes about 30–45 minutes, depending on their size and moisture.
Keep an eye on them near the end because they can brown quickly.
6. Use battery-powered candles to light your pumpkin
Those little dollar store faux-candles work so well for pumpkins! Most will last much longer than you could ever expect, and a benefit is the kids will love to turn the pumpkins on themselves as soon as they come home from school. Trust us… they’ll remind you.
7. Keeping your pumpkin
After all that carving, you'll want your pumpkin to last through Halloween. The BEST way to do this is to wait to carve. It’s tempting to do it early, but waiting is best!
Avoid excess moisture: Too much moisture can encourage mould and soft spots - bring it in if snow or rain is forecasted… a little frost wont hurt it though.
Bring it inside if conditions are harsh: Wind, warm afternoons and freezing temperatures can all affect how long it lasts.
Check it daily: If it becomes slimy, mouldy or starts breaking down, it's time to dispose of it.
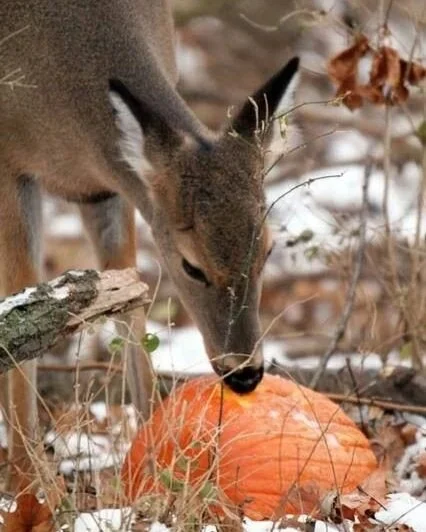
The BEST way to dispose of it as long as you do not use petroleum or notice mold, is to feed the deer and birds. Having so many city deer around you may have noticed bites out of your pumpkin already! If you go this route however, please clean it up after a week or so and place it in your green bin.
Halloween In Medicine Hat
Pumpkin carving is a great way to spend an evening at home, but there are plenty of reasons to get out and enjoy the Halloween season around Medicine Hat, too and as always there is plenty going on.
-
Step aboard the Haunted Medicine Hat Trolley Tour on September 12 & 19 at 8:00 PM and experience Medicine Hat from a completely different perspective.
As darkness falls, we’ll travel through the city exploring real local ghost stories, haunted landmarks, fascinating history, forgotten stories and legends that have been passed down through generations.
Led by Tamara Miller, the tour blends history with the unexplained, sharing the stories of the people, places and events that helped shape Medicine Hat. As a Medium and Numerologist, Tamara may also share spiritual impressions or unusual experiences that arise naturally throughout the evening.
No two tours are exactly the same—and you never quite know what the night may bring.
Whether you love local history, ghost stories, the paranormal, or simply want to experience Medicine Hat after dark, climb aboard for a night of stories, mystery and discovery.
October 17, 18, 23, 24 & 25
Tickets Required - Purchase at
https://www.eventbrite.com/e/haunted-medicine-hat-trolley-tour-tickets-2000039135895?aff=oddtdtcreator -
This October, we’re turning down the lights and bringing some classic black-and-white scares to Medalta!
Join us for Thursday Fright Nights, a three-week series of vintage horror movies shown inside one of Medicine Hat’s most unique historic spaces. Each Thursday leading up to Halloween, we’ll be screening a different cult classic.
Come for one movie or make a tradition of all three!
https://medalta.org/movie-night/ -
Join us on October 24th in the Yuill Family Gallery from 10am – 2pm for our special Halloween workshop where families can get creative and have fun together!
The workshop will start off with an instructed clay activity that will allow you and your kiddos to sculpt your own spooky creations. Choose between a little clay pumpkin, a grinning jack-o’-lantern, or a friendly ghost. Then, grab a pumpkin and begin carving a design that’s perfect for Halloween. 👻
What to expect:
All ages are welcome (children must be supervised by an adult)
Pumpkins & clay are provided for you
Carve a pumpkin with your very own design
Have fun while playing and creating with clay
Create one-of-a-kind art
Enjoy some family fun
-
On October 24th, 1-3:30 PM - Join us for a smashing good time!
Enjoy live music, treats, hands-on activities and of course smashing pumpkins at this FREE all ages Halloween event!
COSTUMES ENCOURAGED!
Get ready for a smashing good time at the Esplanade!
Join us this October for our annual Great Pumpkin Smash, a FREE, all-ages Halloween event filled with pumpkins, creativity, treats and plenty of spooky fun. Bring the whole family, come dressed in your favourite costume, and get ready to send a pumpkin flying from the Esplanade terrace!
-
Dress up in costumes and bring the whole family on the Sunshine Trolley to trick or treat and stroll through a family-friendly haunted house.
Custom “Trick or Trolley” bags will be given to each person to collect sweets along the way.
Head to Medicine Hat’s Historic Downtown to find a store that’s entirely candy. Say “Trick or Trolley” at Pop Rocks Candy & Vinyl for a tasty surprise to bring home. Then, cruise to Fruitful Specialty Shop for a delicious sweet treat to prepare you for all the candy to come on Halloween night.
Once everyone has their goodies, the group will stop at the Downtown YMCA’s Haunted Ever After: Haunted House. Stroll through enchanted woods and encounter spooky characters (experience suitable for young families).Dressing up is encouraged (no masks). Halloween music will be playing throughout the ride.
SATURDAY OCTOBER 24th
Departures at 12pm and 2pmSATURDY OCTOBER 31st
Departures at 12pm and 2pmTour is approximately 90 minutes long.
Tours start and end at the Visitor Information Centre located at 330 Gehring Road SW.Adult $25
Youth (13-17) $15
Child (12 and under) $10
+GST*Please note, we are unable to accomodate wheelchair passengers on the Trick or Trolley tour.
-
We hope you'll join us for an exciting upcoming program, Historic Cemetery Walk, on Sunday, Oct 25 (5:30-6:30 pm) at Medicine Hat Hillside Cemetery. This program will focus on some of the history of the cemetery as well as touching on migratory bird species that pass through and why we often see lichen and moss growing on tomb stones. Registration Required.
Are you interested in some of the history of Medicine Hats oldest cemetery? Do you have any curiosities about the wildlife that passes by, or why moss seems to thrive on tombstones? Perhaps you are a keen birder looking to discover more species in your area? On this walk, there is a little something for everyone as we will explore the history and natural aspects of the local Hillside Cemetery Sunday October 25 th from 5:30-6:30pm. This is a family-friendly walk that is free to attend, but registration is required.
We will be meeting at Hillside Cemetery (1280 10 Ave SW, Medicine Hat, AB), a more precise meeting location within the cemetery will be given upon registration. Please call 403-529-6225 to register for this program. For more information about this or any of our programs, call us, drop in to the Nature Centre, visit our website (www.mhip.ca) or follow us on social media @interpretiveprogram.
-
Halloween is taking over Medicine Hat Exhibition & Stampede!
Think trick or treating, costume contests and fun for the whole family!
10-3pm
Vendor spaces are 10x8 - 6" tables are included
Free admission for the public - Everyone Welcomen
-
This October, Medicine Hat is alive with ghostly delights! Explore Shanell Papp’s Textile Haunted House, catch ghostly projections downtown, join mini outdoor tours, enjoy a Giant Ghost installation, and watch Hocus Pocus under the stars. It’s a full afternoon or evening of spooky, playful, and contemplative experiences!
Textile Haunted House
Historic Ewart Duggan House
Step into a world where textiles meet the uncanny. Artist Shanell Papp transforms the Historic Ewart Duggan House into a softly spooky, immersive haunted house, inviting visitors to explore works that reflect on impermanence, grief, and the things that haunt us. Through her research-driven practice in textiles, sculpture, and multimedia, Papp creates an environment that balances eerie playfulness with thoughtful reflection. The Textile Haunted House is a come-and-go experience, so you can wander at your own pace. While you wait, make an afternoon or evening of it with additional seasonal activities:
Open House Dates & Highlights:
• October 18 | 1–3:30 PM
• October 23 | 7–9:30 PM
- FREE 15-minute outdoor haunted walking tours with Miller’s Herbs & Haunts (max 10 people per tour). Tour departs outside the Ewart Duggan House at: 7:00, 7:30, 8:00, 8:30 PM.
- Ghostly projections by PULP Digital Creators and MHC Art & Design Students on the Medicine Hat Public Library.
• October 25 | 1–3:30 PM
– Part of Pumpkin Smash festivities.
• October 30 | 7–9:30 PM
- FREE outdoor screening of Hocus Pocus on the Esplanade front lawn.
There’s lots to see and do while you explore—make it a full afternoon or evening!
Downtown Giant Ghost
As part of the Textile Haunted House experience, a Giant Ghost installation appears October 7 atop the 20-foot tall chess piece between the Medicine Hat Public Library and the Courthouse. This Instagram-worthy spectacle remains through the first week of November—perfect for capturing the spirit of spooky season.
-
https://themonarchtheatre.ca/
$5 at the door | concession is any two items for $5.Head to Canada’s oldest, purpose-built cinema in downtown Medicine Hat to catch a Halloween film.
-
Join us for Frightfully Fun Friday at the Downtown YMCA! Enjoy an evening packed with spooky fun, games, activities, and Halloween excitement. Best of all, it's completely FREE!
Event Details
Friday, October 30th | 4:00 PM to 8:45 PM
Doors close at 8:00 PM
Downtown YMCA (150 Ash Avenue, Medicine Hat)
FREE Admission
What to expect?
Trick or Treating
Haunted House (Learn More!)
DJ Dance Party
Coloring Contest
Fortune Teller
Costume Contest (Win a FREE YMCA family/youth/adult membership for the entire year!)
Games
And More!
Frightfully Fun Friday wouldn't be possible without the incredible support of our sponsors and community partners. Their generosity helps us create a safe, fun, and accessible Halloween celebration for families across Medicine Hat.
https://medicinehatymca.ca/frightfully-fun-friday-1
Haunted Houses
Apocalypse: A Haunted House Experience
Stroll through an eerie elementary school that was built in 1912. Inside the century-old building, find haunting live characters, immersive sets, and unforgettable scares throughout the daunting apocalypse house.
Redcliff Youth Centre is hosting their annual haunted house in Redcliff. Step through a family-friendly haunted house that brings scares and an eerie atmosphere.
Seriously scary, head down the stairs into the basement to experience this haunted house. Silver Buckle is attached to the historic Lake of the Woods Milling Co. and currently resides in the Inn at the Olde Mill.
Nightmare on Cartwright Haunt #1
A neighbourhood haunted house located just outside of Medicine Hat in Veinerville.
Families and friends are invited to journey through the YMCA Haunted House and experience a fairy tale with enchanted woods, cursed characters, and to see what lurks beyond the castle gates.
Purrfectly Splendid Haunted House
Purrfectly Splendid Creations & Delivery is hosting this haunted house where 50% of admission proceeds will be donated to the Medicine Hat SPCA. Bake sale and craft sale will be available again this year, along with free hot chocolate at the end. TRICK-OR-TREATING on Halloween day, regardless if you're entering the haunted house or not.